|
| |
Directions Here
 |
 |
 |
 |
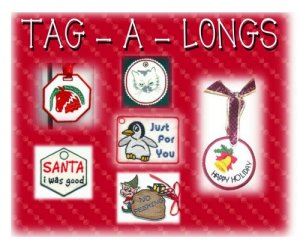
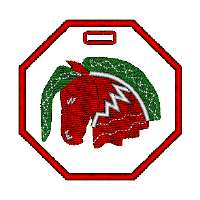
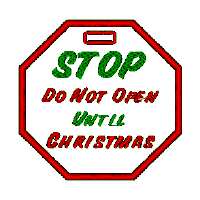
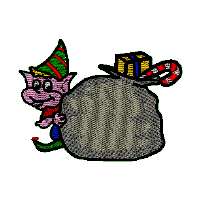
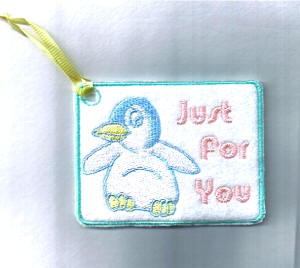
Tree Ornaments
or
Gift Tags
|
 |
 |
 |
 |
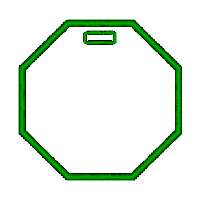 |
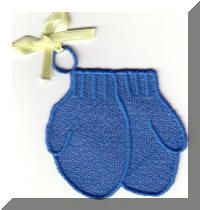
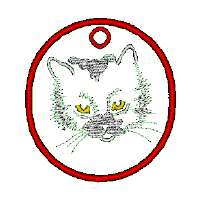
And some blanks to add
your own designs
|
 |
|
Change the Colors
For a Whole New
Look!
|
 |
Instructions
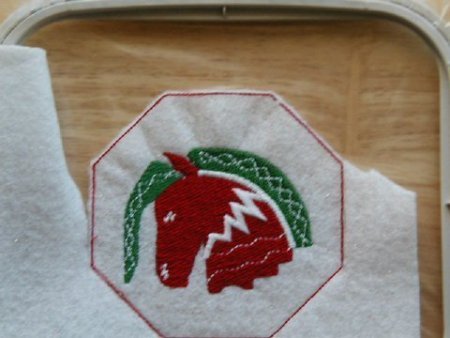 |
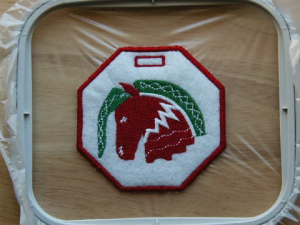
Hoop WSS, stitch the ornament design and first color
stop. Take hoop off the machine, but DO NOT unhoop. Cut
closely to stitching line.
WWS = Water Soluble Stabilizer |
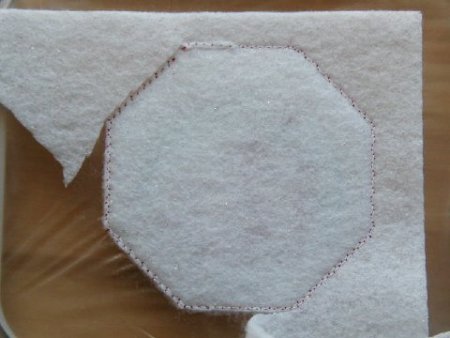 |
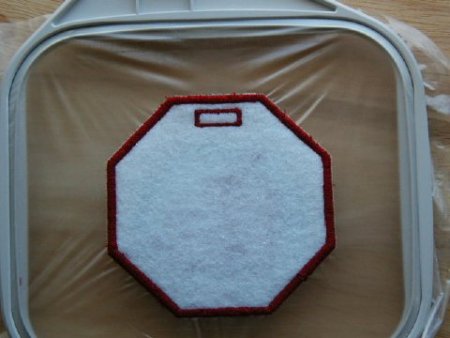
Re-attach hoop, "float" backing material under hoop,
stitch the next color stop. Remove hoop from machine, again, Do
NOT un-hoop design. Carefully trim next to stitching line once
more. |
 |
Change bobbin thread to match needle thread,
re-attach hoop and finish design (the satin stitches). |
 |
Tear off WSS, cut open buttonhole and enjoy your ornament. |
|

Dottie did a wonderful job on creating these instructions for us.
Thank you Dottie! |
|